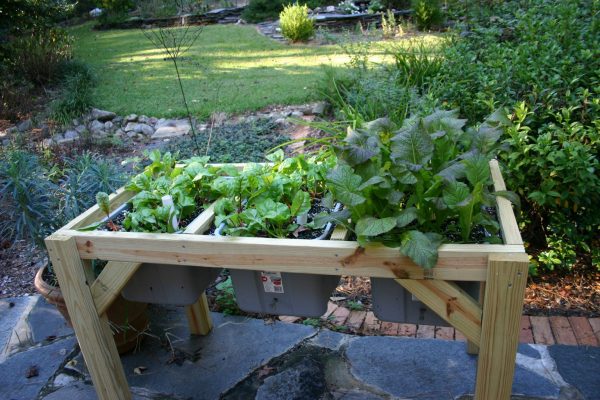
I have really appreciated my Really Raised Bed for starting transplants and nurturing tender plants I get in the mail. But these beds must be watered frequently to keep the soil from drying out.
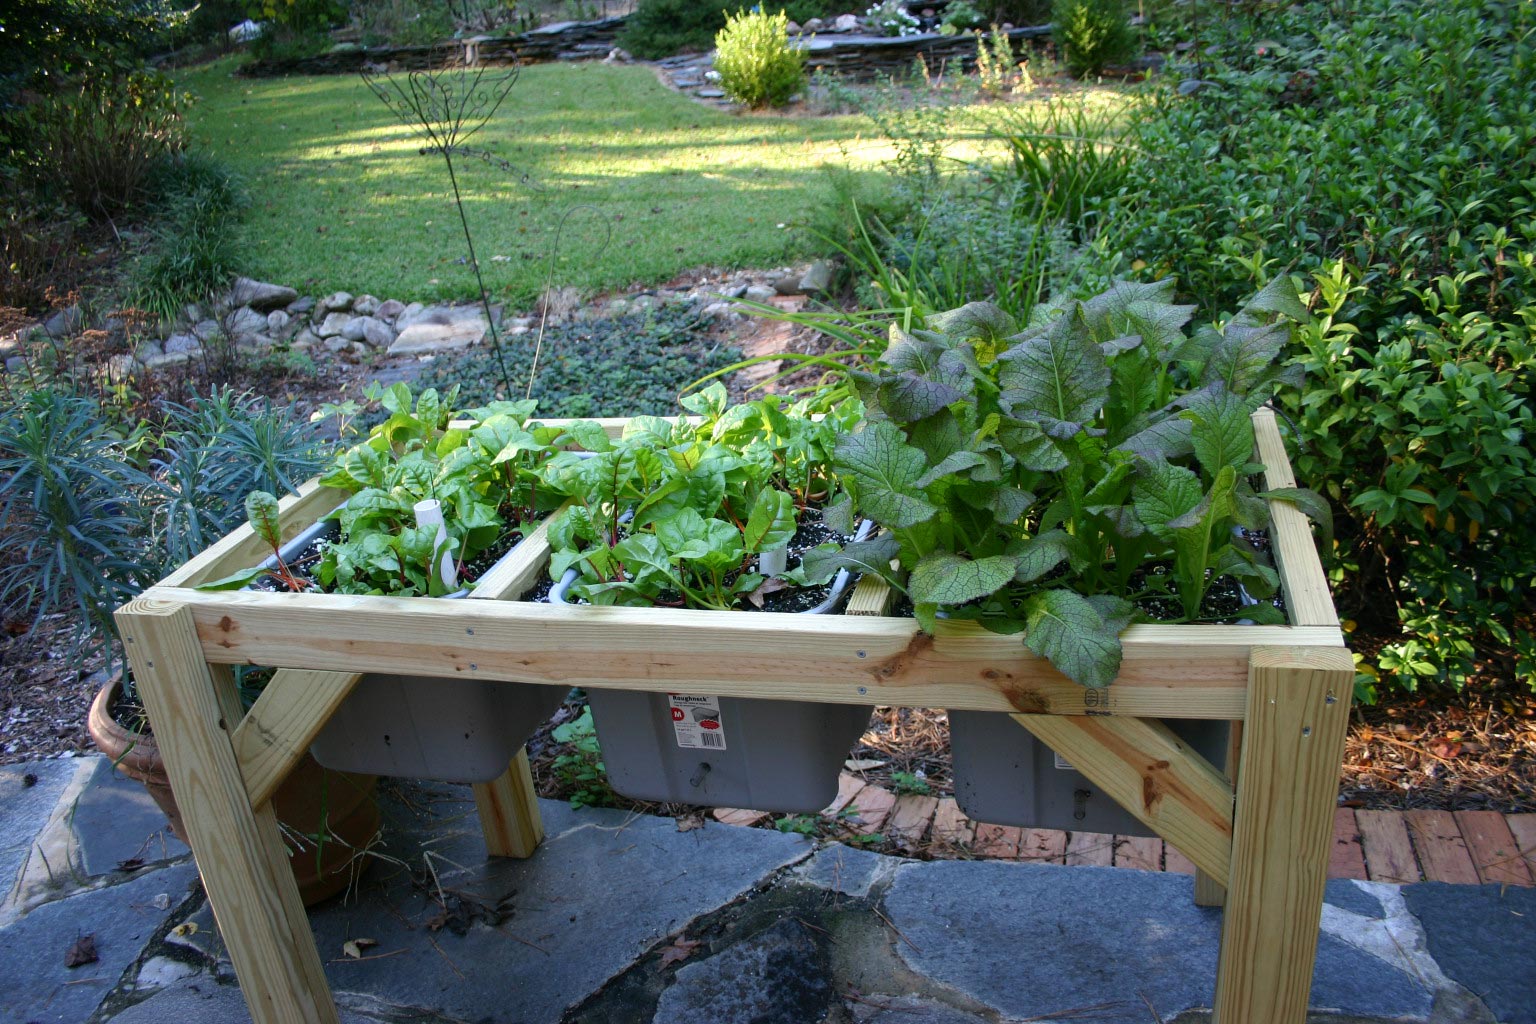
Seeing several self-watering gardens on YouTube, I decided to make my own…and it has been a rousing success! (see the first photos). Water sits in the bottom of the tub and is wicked upward gradually by the compressed soil in the cups.
Following are directions for making your own self-watering, really raised bed.
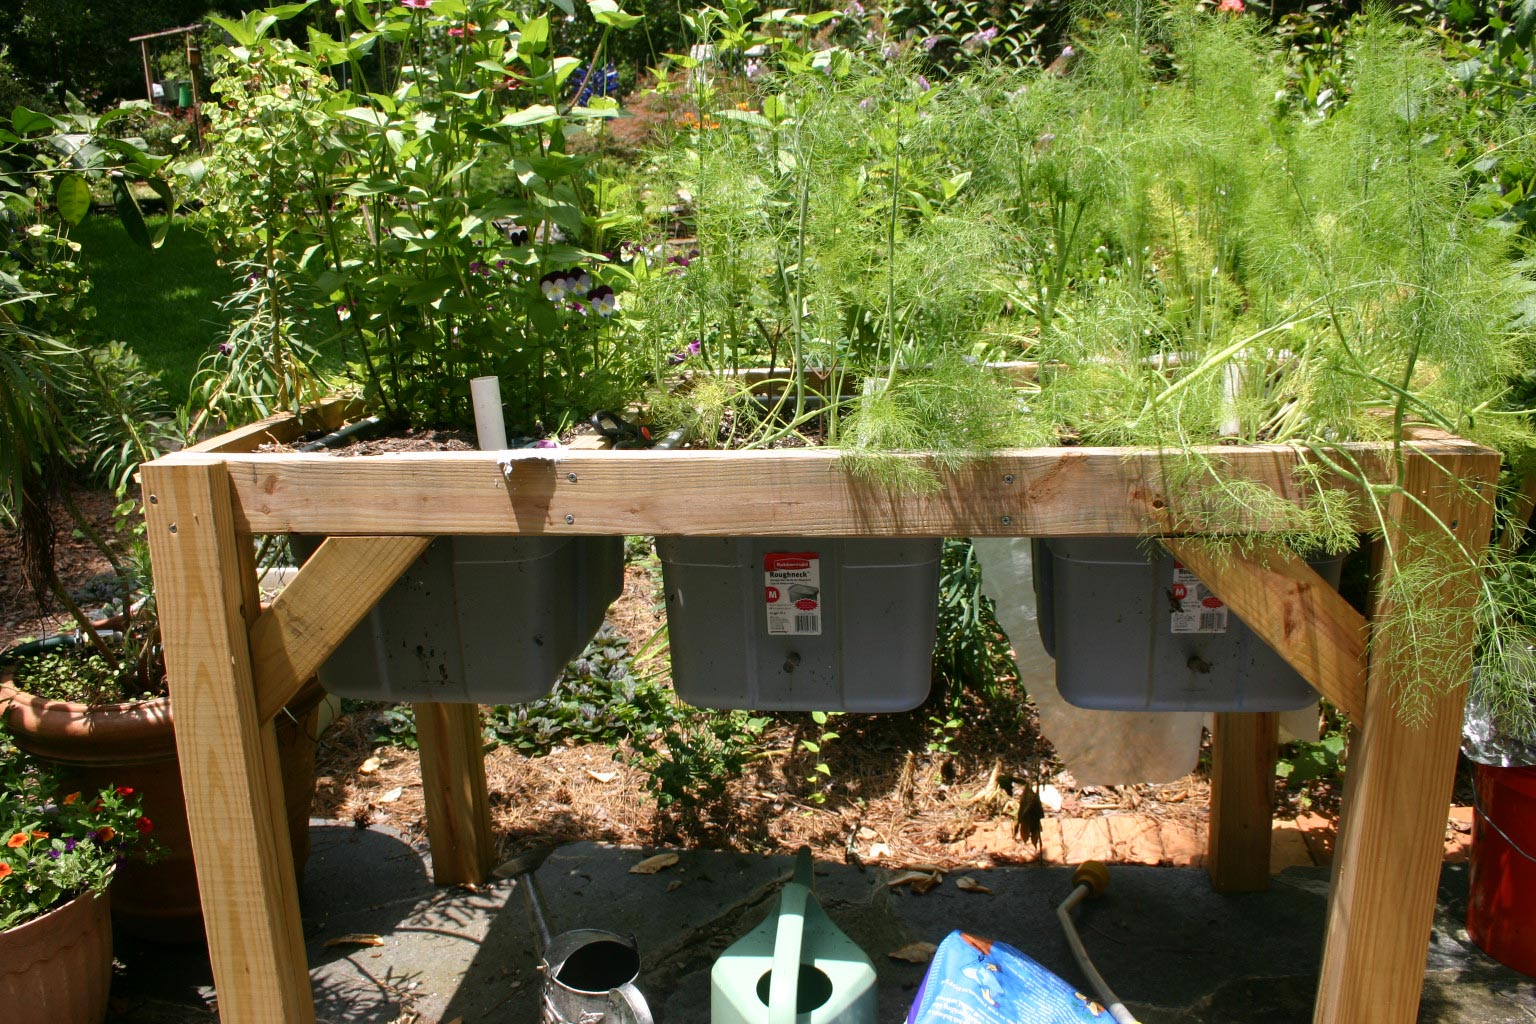

start with a plastic tub

this is the brand I used
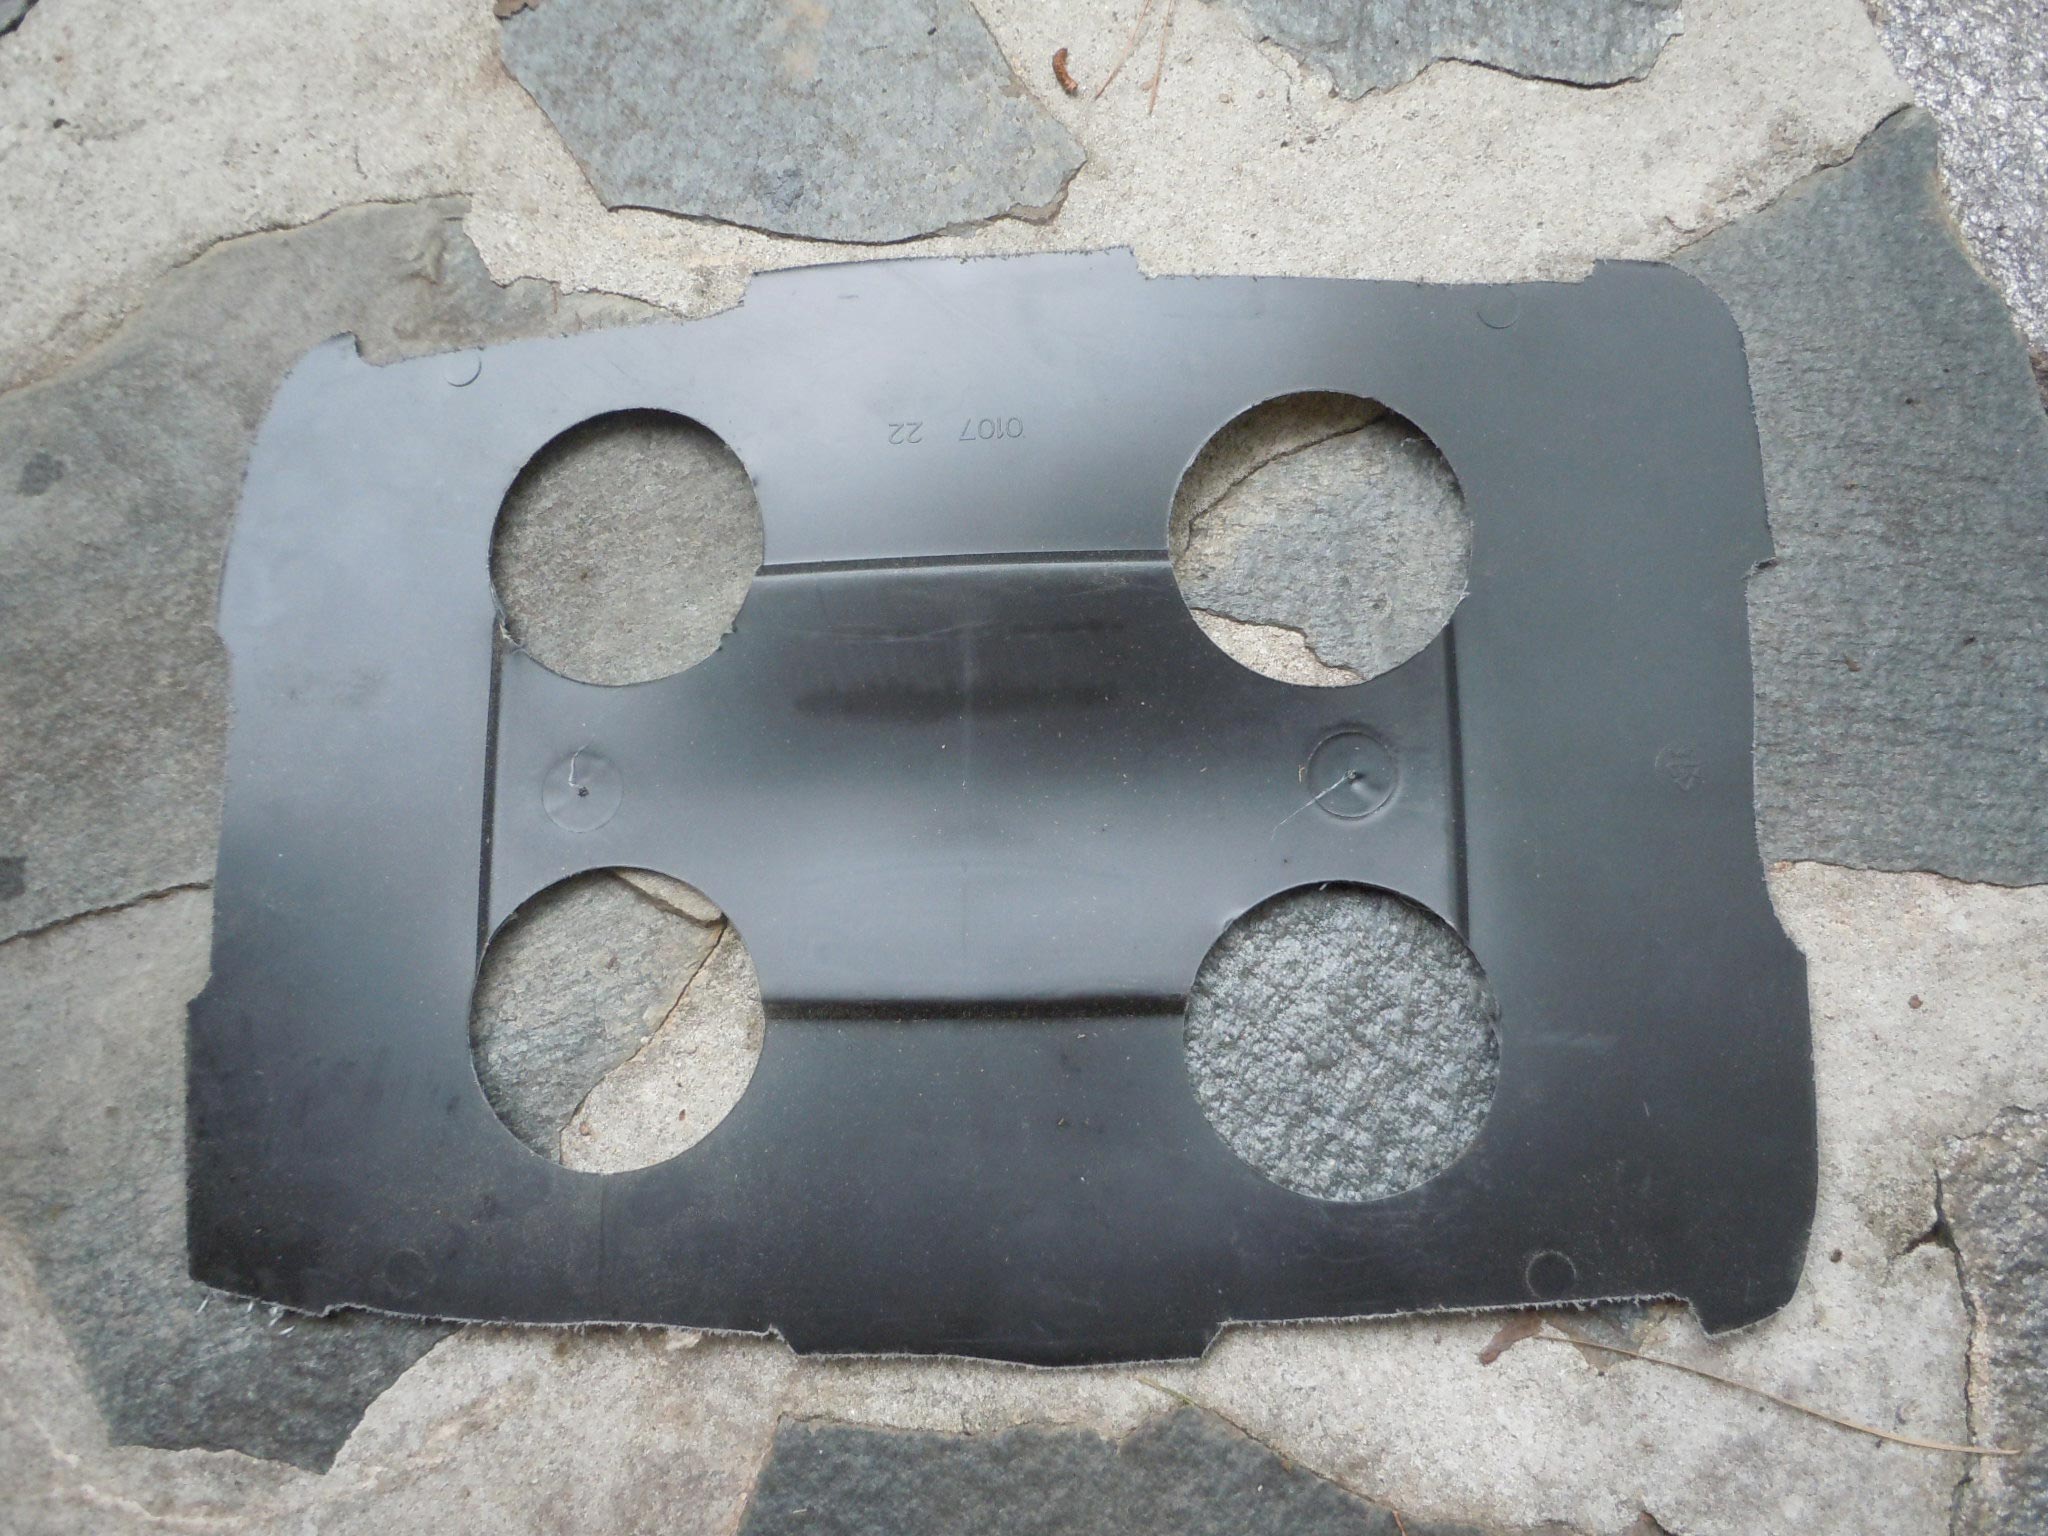
use heavy scissors to cut the lid to fit inside and cut four 3″ diameter holes 1 1/2″
from the edge

cut pressure treated 2″x4″ lumber to fit inside and support the plastic lid

now it looks like this
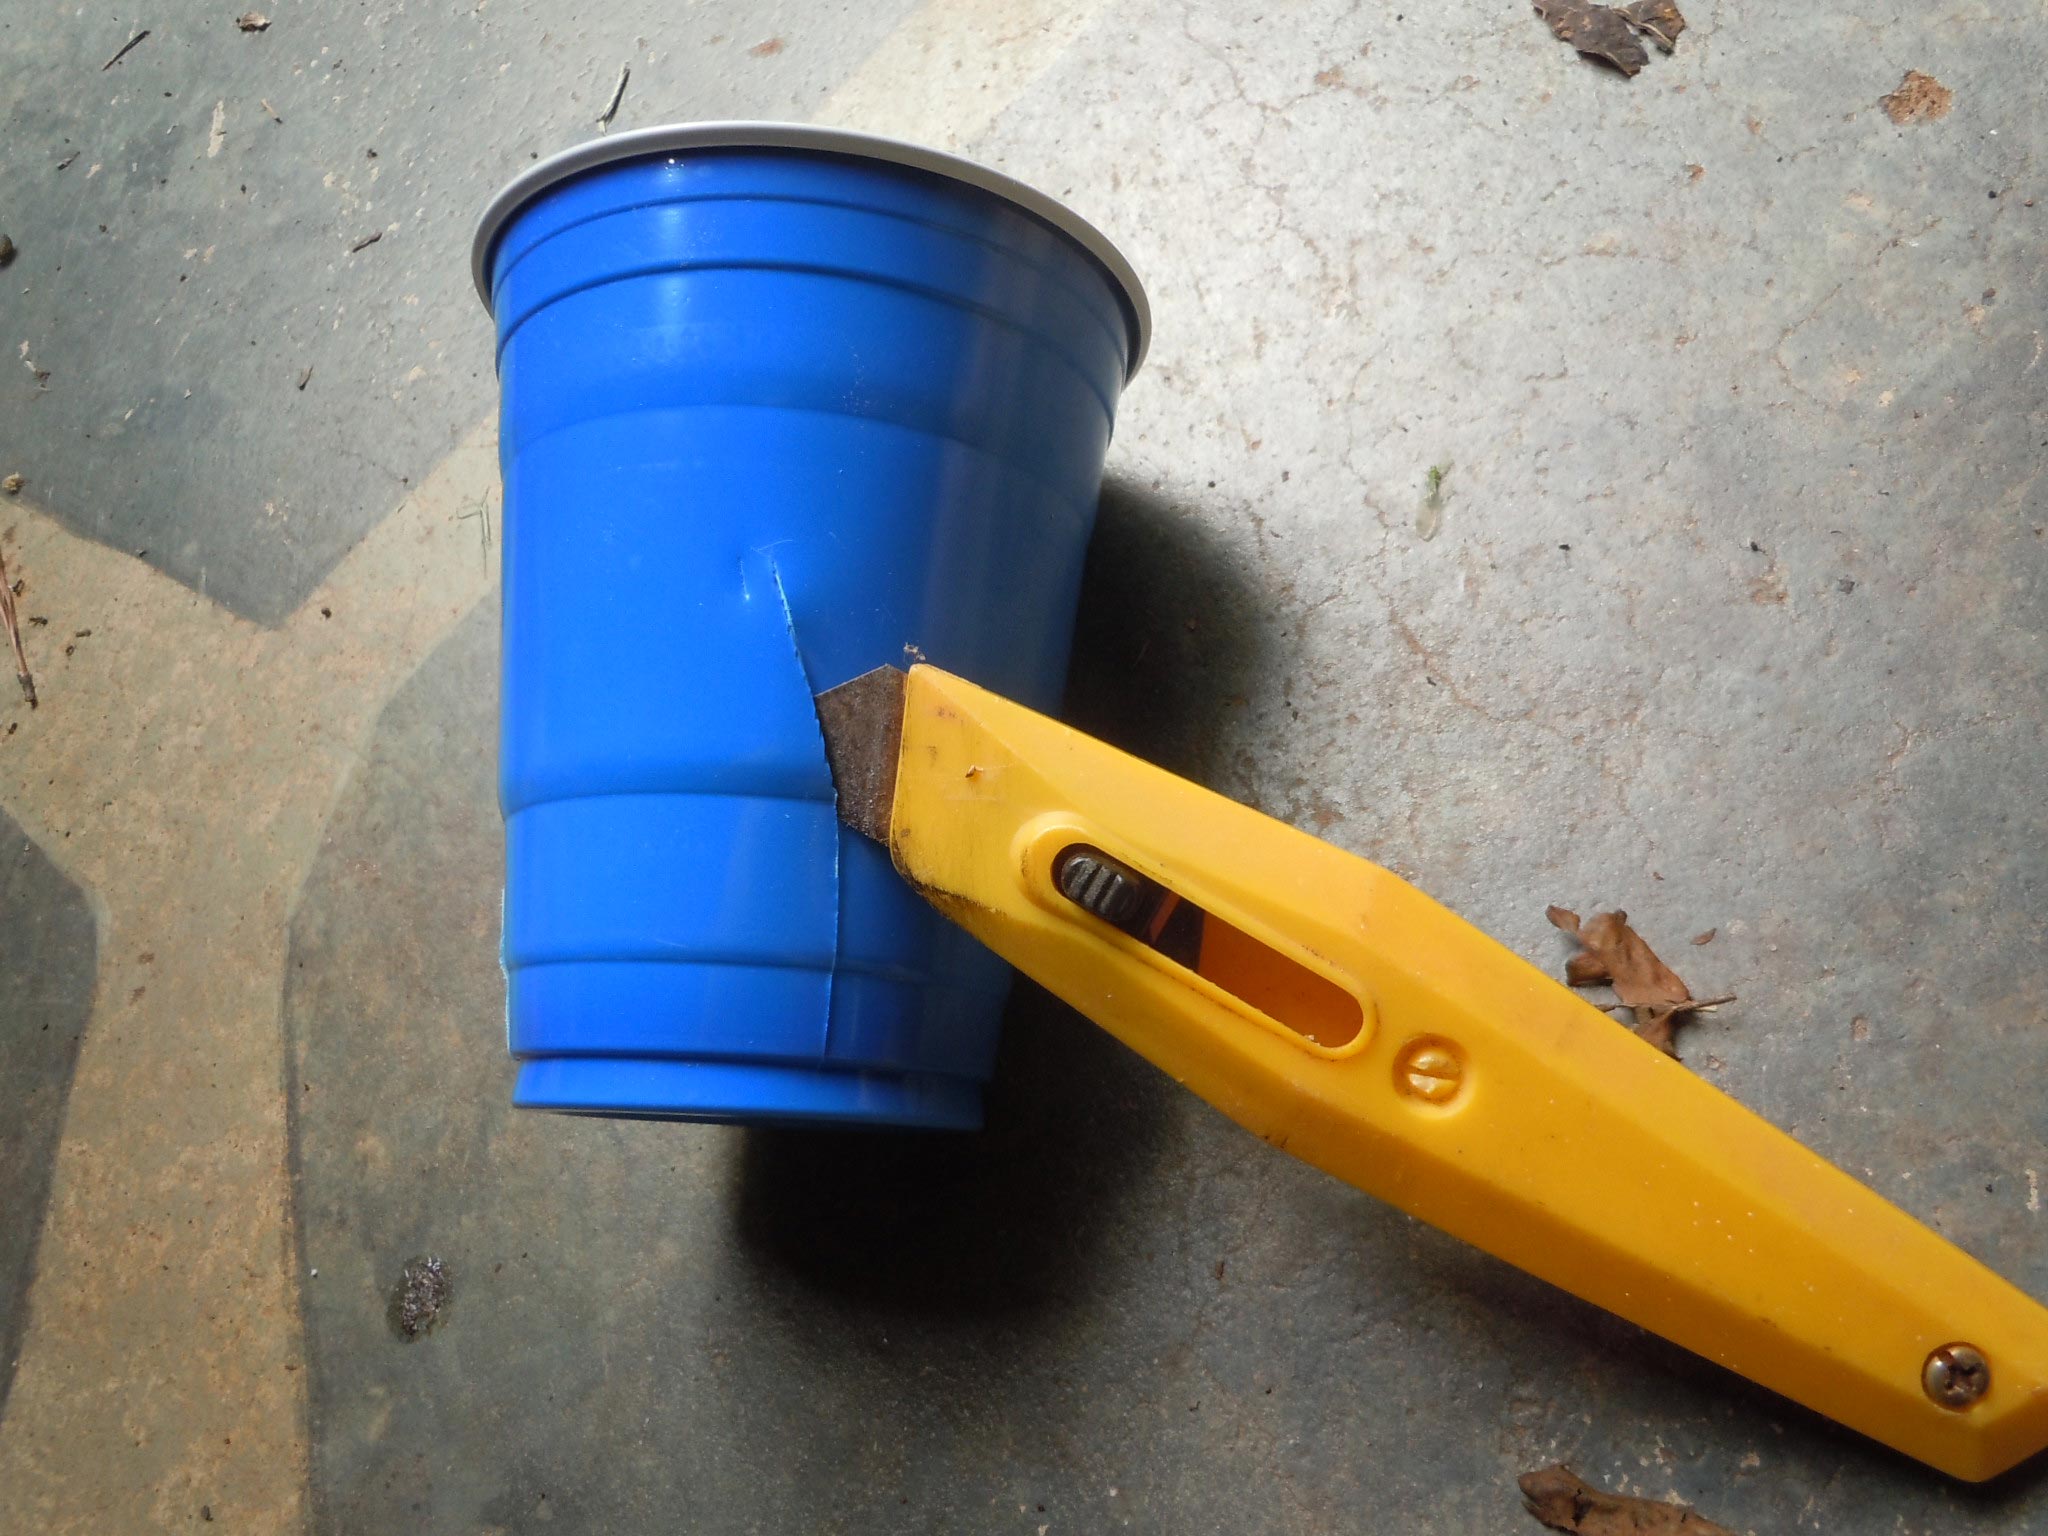
make a couple of vertical cuts in the sides of four plastic cups

put the cups in the holes

now cut a piece of 1″ plastic pipe long enough to extend above the top of the tub

grab a wine cork that fits inside the pipe; impale it with a piece of stiff wire

stand the pipe upright in one corner of the tub; you’ll have to cut the plastic
lid to make it fit

notice that I wasn’t too exact with my fitting

no problem; just use a rag to fill the space

now fill each cup with potting soil

press the soil firmly into the cup; it has to be firm so the soil will
wick water upwards

almost there! fill the tub completely with potting soil

you can put the tub on a patio wall or build a three-tub bench like I did

clip the wire in the floating cork so it appears above the top of the tube when water is in the bottom of the tub. This is where you’ll add water when the float drops down.

drill a half-inch hole in the end of the tub to prevent it holding too
much water
