Camellia (and other shrubs) – Propagating Step by Step

This is my step-by-step process of propagating camellia cuttings. The same method works for roses, gardenia, azalea and other woody broadleafed shrubs.

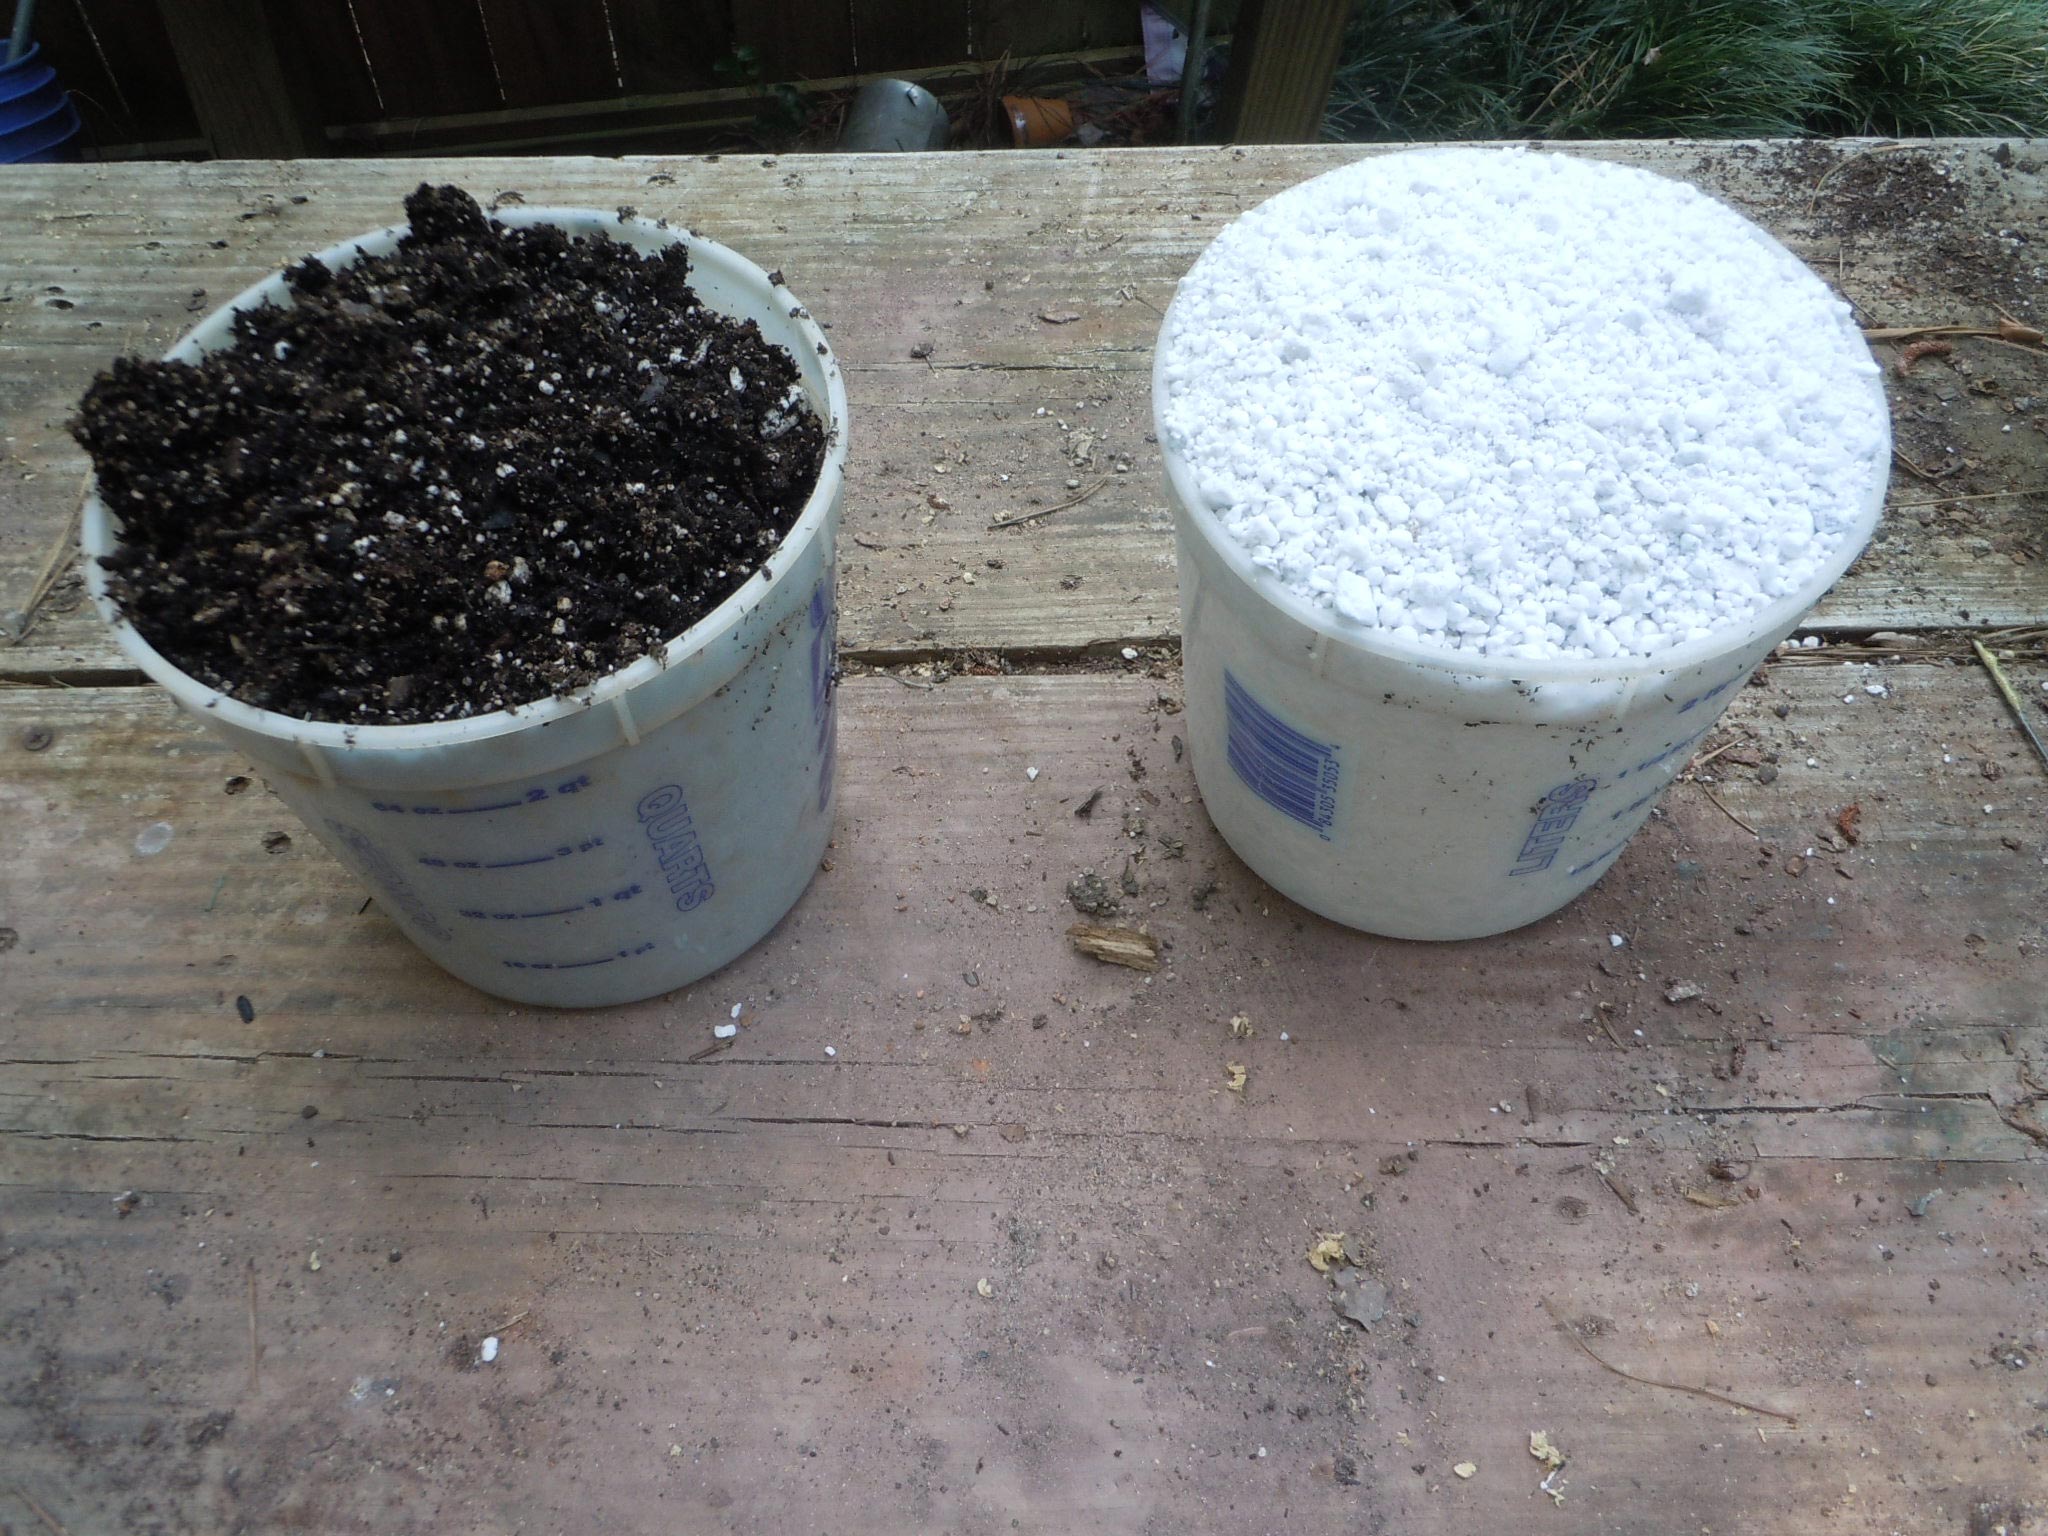
mix propagation media: 1 to 1 potting soil and perlite

Cut a two liter soda bottle in half; make holes in bottom for drainage; fill with media

cut a fresh limb from the shrub

make several 4″ cuttings from the limb

remove lower leaves, leaving only two at the tip

dip end of each cutting into rooting hormone powder

stick cuttings into media

put top onto rooting chamber and secure with tape; put in a bright but shaded spot for three months

Wait until you see a bud form at the tip

gently remove cuttings and plant into individual 8″ pots; fertilize; do not transplant into garden until the pot is filled with roots (note that the bottom cutting did not make roots and has no tip bud)


